Required Items
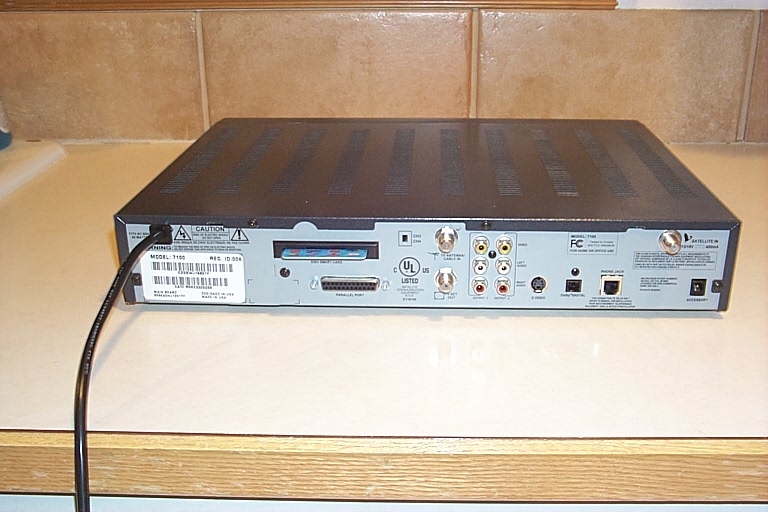
Step 2 Remove all the cabeling from your dishplayer and unplug it. Move it to a clean and dry place. I do not recommend doing this on a carpeted area due to static issues. Finally turn the dishplayer around.
Step 3 There are four black screws on the backside of the unit. Remove all of them. Two along the top side. One on the right and One on the left.
Step 4 Now turn the unit to one of the sides. Each side has two more black screws remove them.
Step 5 With the unit facing so you are looking at the back. Gently pull the cover towards you. You may need to lift it slightly to get it free.
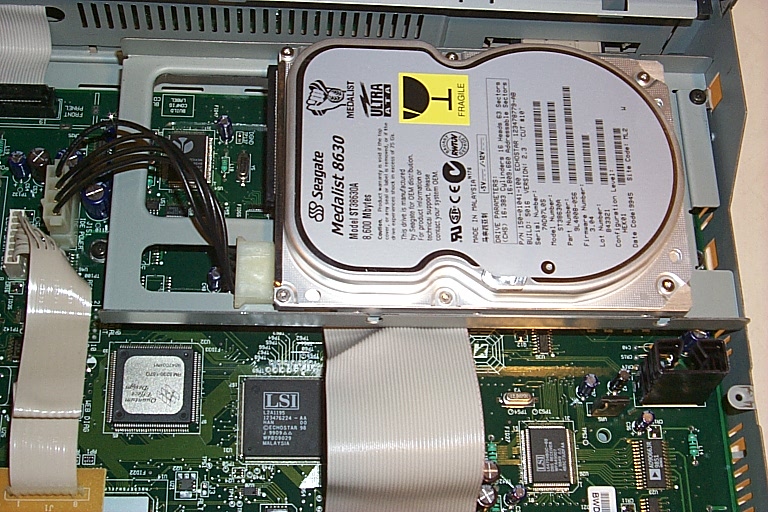
Step 6 Gently remove the power cable to the drive. You may need to wiggle it a little bit to get it out. The power cable is the white connector with the black wires.
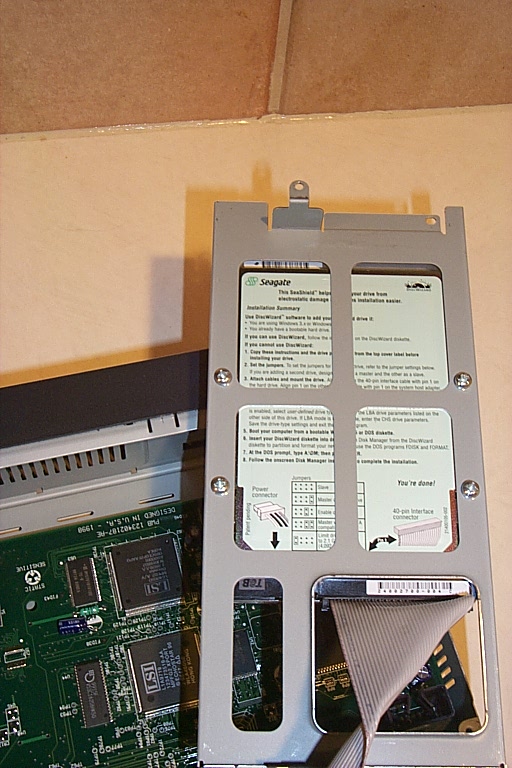
Step 7 There are 3 black screws holding the drive mount to the mainboard. DO NOT REMOVE THE UNPAINTED SCREWS ON THE TOP OF THE DRIVE! Two of the black screws are along the right side of the drive (assuming you still are facing the back of the unit) remove them. The last one is on the left side. It's just to the right of where the other end of the power connector you disconnected earlier connects to the mainboard. Remove it.
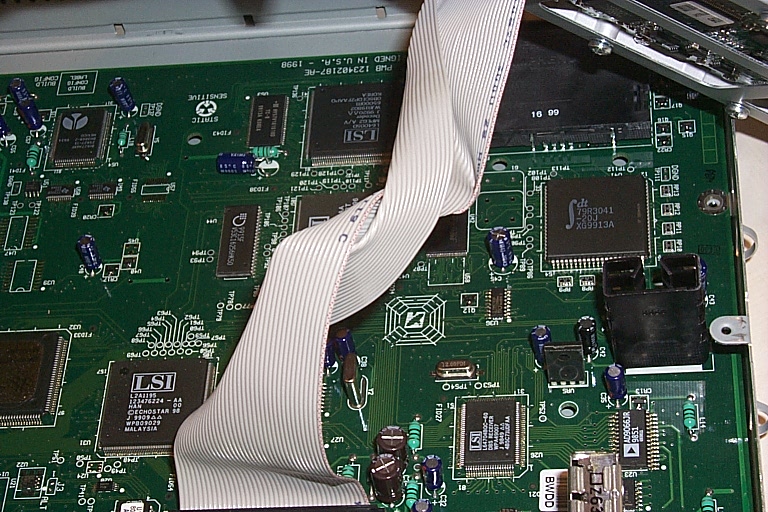
Step 8 You should be able to lift the drive and the mount off the unit now. Please note that if your dishplayer was running before you started this upgrade the drive will likely be extermely hot (thanks to Ken for pointing this out). Gently remove the last connector to the drive (this is the IDE connector). Be cautious not to bend any of the pins on the drive, especially if you plan on using the drive for something else.
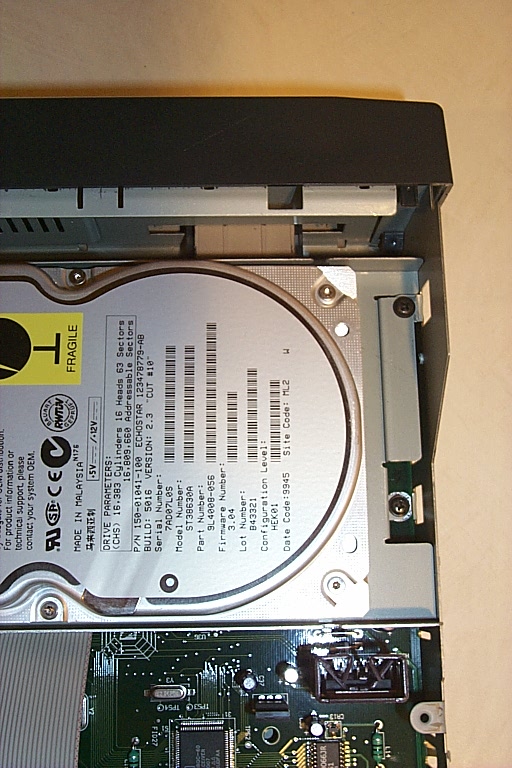
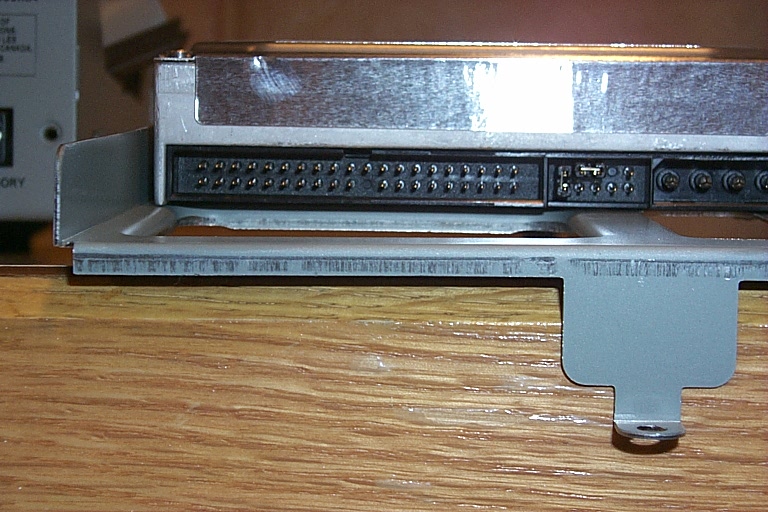
Step 9 Now that you have the drive mount free turn it over. You'll see four silver screws. (Note: Some users have reported that their screws were mounted on the side. Doesn't really matter but if you can't find them try the sides). Remove them. Be sure you are looking at the bottom of the drive. Refer to the previously linked picture to be sure.
Step 10 You now are ready to put in the other drive. But before you do that you need to make sure it's jumpers are set right. Make sure that it is set to Master/Single mode. If there are seperate Master and Single modes use the Single mode. Refer to the instructions that came with the drive to set this correctly. There is NO need to format or partition the drive in anyway!
Step 11 Now turn your new drive upside down so that you can see the four the mounting points. Line them up with the holes in the mounting bracket. And place the four silver screws back into the mounting bracket and the drive.
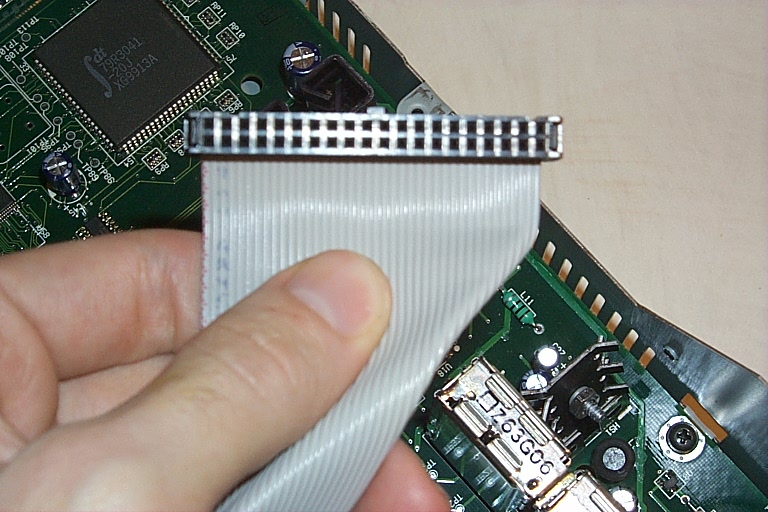
Step 12 Now replace the IDE connector. Take care to ensure that it is twisted like it came from the factory. Make sure that the notch on the cable matches the notch on the drive. Seth pointed out to me that some users might not have a notched cable. In that case you can match up the side of the cable that has a red strip on it to the pin 1 (it should be marked on the drive but if it isn't it's usually the side that is closest to the power connector). Gently push the connector in.
Step 13 Place the mounting bracket back where you took it out from. Line up the screw holes and replace the 3 black screws that you took out.
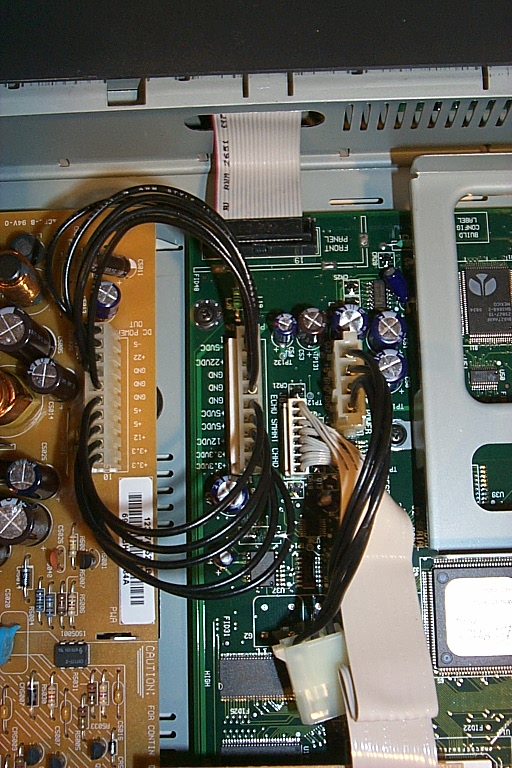
Step 14 Replace the power cable. Note it will only go in one way.
Step 15 Replace the cover. Note the notches that will slide under the face plate, note their are receiving squares for them make sure they slide into them (thanks to Chris for this suggestion). Then replace all the screws you removed (8 in all)
Step 16 Plug all the cables back into the unit. You will need the phone and satellite connectors so be sure they are hooked up! Then plug the power cable into the outlet.
Step 17 Turn the unit on. It will tell you that it needs to get a WebTV upgrade and will dialout to get it. This takes about 32 minutes to get. Go get something to drink. If you have problems with this step you might want to review to the Information Bulletin linked off my main page about dishplayer's not wanting to take their software upgrade.
Step 18 Once it's done it will ask you if you want to use WebTV. Just turn the unit off.
Step 19 Turn the unit back on. When it comes back on it'll do some things to finish the WebTV software upgrade. Then it will power cycle.
Step 20 Now the unit will go through a bunch of setup stuff. Just keep hitting Continue or Done until you get to a Subscribe now to WebTV screen, just choose Sign Up Later. On the next screen it will tell you how to sign up later, just choose continue. Then it'll try to tell you what's new on your tv, choose skip intro. Then on the screen about how to get info click Continue.
Step 21 After all that the unit will now download the TV listings. Sit back for a couple minutes and relax again.
Step 22 Test your Dishplayer to make sure everything is still working okay. You can run the diagnostics by going to TV Home, Settings, Diagnostics. If you have any failures I'm not sure what to tell you to do. :( (Thanks to Bill for this additional step)
Step 23 All Done!
Anyone that has any suggestions or additional information please let me know. Also if you'd like screenshots of the upgrade process I could put some up. I recorded the process on my VCR so I could easily take them. But of course I haven't taken the time to do it. If popular demand asks for it then I'll do it.
In case you're wondering how much additional time or how well this has worked. I was able to get around 19 hours on my 27 GB drive. Your mileage will vary depending on what you record.
A lot of people had concern that DISH would cut us off from allowing us to do this. In the several months since we started doing this they haven't done that. In addition I've heard from one individual that DISH internally had made the decision that as long as they didn't see a ton of returned units because of upgrade issues they wouldn't mess with us. They say they are closely monitoring returned units. So please don't abuse this ability, all it takes is a few people abusing the privelege. As long as you treat this upgrade as a warranty voiding item and don't use the warranty I expect no issues with DISH.
This page and the graphics linked off it are Copyright 1999 Ben Reser.